Description
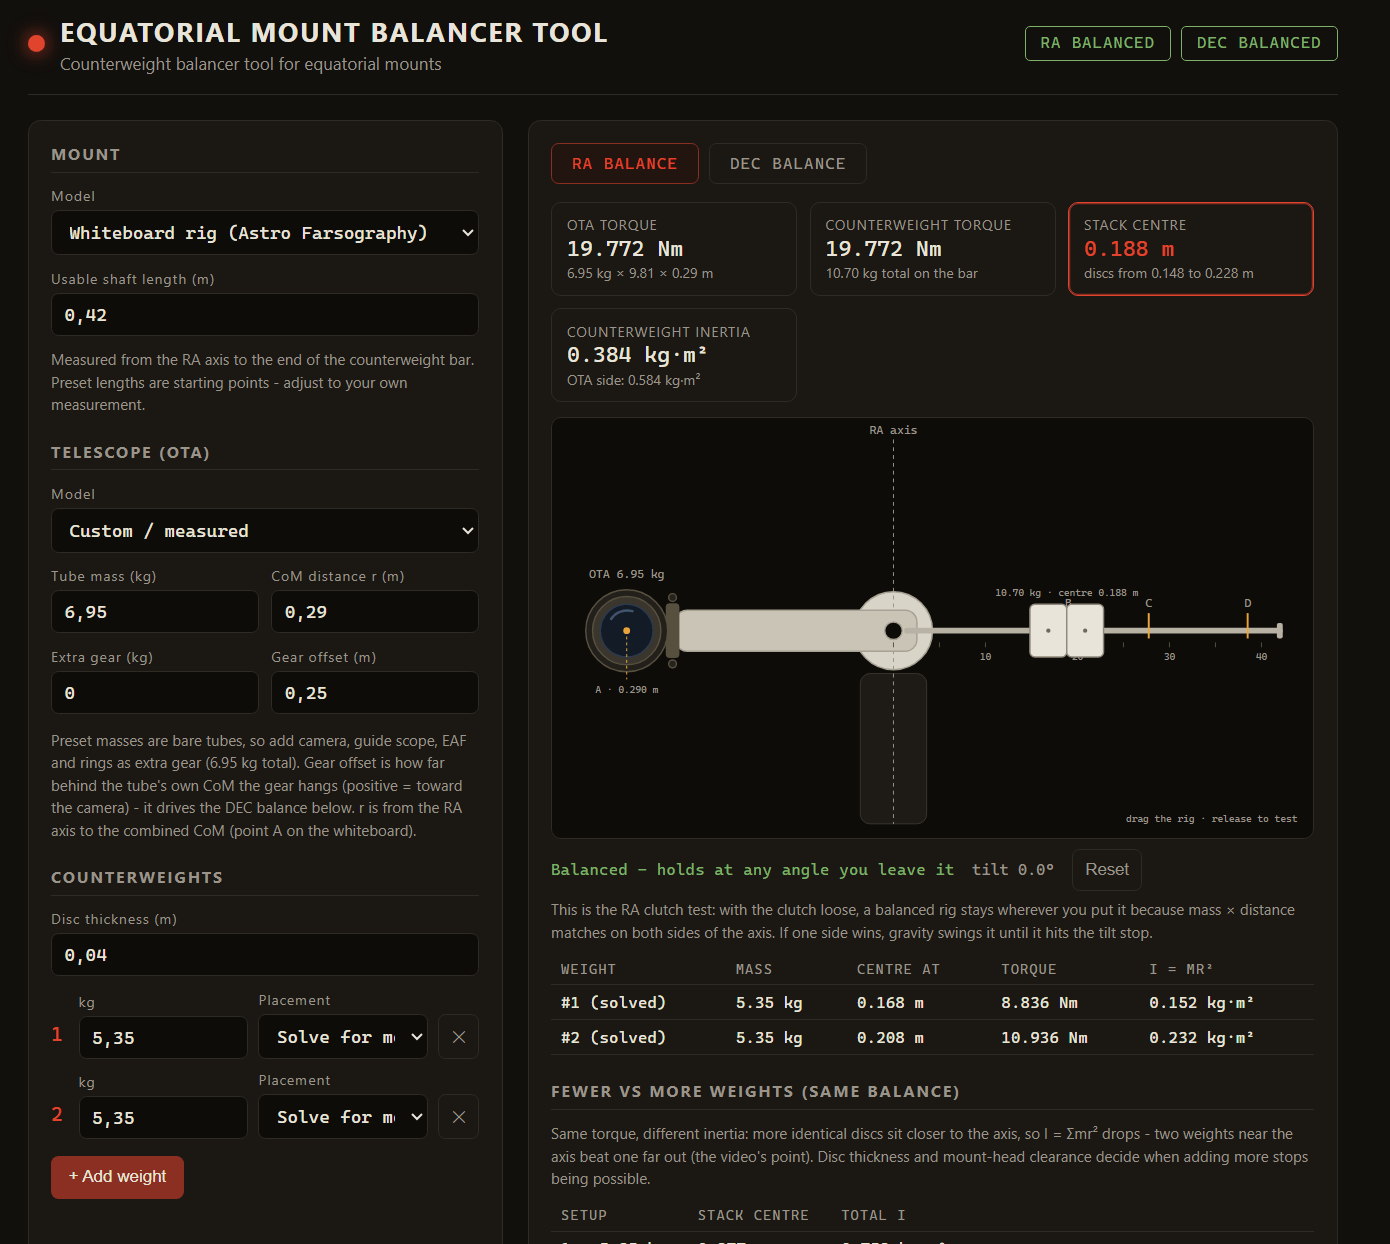
A web app that tells you where to place your counterweights on an equatorial mount and how to sit the telescope in the saddle, then lets you drag the rig around and watch gravity decide whether you got it right.
Balancing an EQ mount is not about equal mass on both sides of the RA axis, it is about equal torque. A heavy stack close to the axis balances a lighter scope far from it, and getting it right protects the motors, the bearings, and the guiding. The app solves both axes:
- RA balance: where the counterweights should sit on the shaft so the scope side and the weight side pull with the same torque about the RA axis.
- DEC balance: how far forward the tube should slide in the saddle so the combined center of mass (tube + camera + guide scope + everything else on it) sits over the DEC axis.
Both diagrams are interactive: grab the rig with the mouse, release, and watch it either hold at any angle (balanced) or fall to the heavy side (not balanced). That is the same clutch test astronomers do in the field, done on a laptop.
Features
Mount presets: HEQ5 Pro, EQ6-R Pro, Celestron AVX, Celestron CGX, plus a Custom option that exposes the full measurement set (shaft length, head clearance, disc thickness) so any mount can be described.
OTA presets: RedCat 51, Evostar 72ED, Evostar 80ED, Askar FRA400, Celestron C8, Esprit 100ED, RASA 8, 200P Newtonian, C9.25, C11, plus Custom. Each preset carries the tube’s approximate mass, length and diameter - so a C8 renders short and fat while an Evostar renders long and thin, and the dimensions feed the DEC swing physics, not just the drawing. All three figures are editable, and there is a separate field for extra gear (camera, guide scope, EAF, rings) with an offset for how far behind the tube’s own CoM the gear hangs.
Counterweight solver: enter any number of weights of any mass, set each one to “solve for me” or a fixed position. Solved weights stack as real discs of a chosen thickness and the app places the stack so its mass center lands on the balance point. Warnings when the stack would run past the shaft, press against the mount head, or when two discs would physically overlap on the bar - clashing weights are flagged in red in the diagram and the placement table.
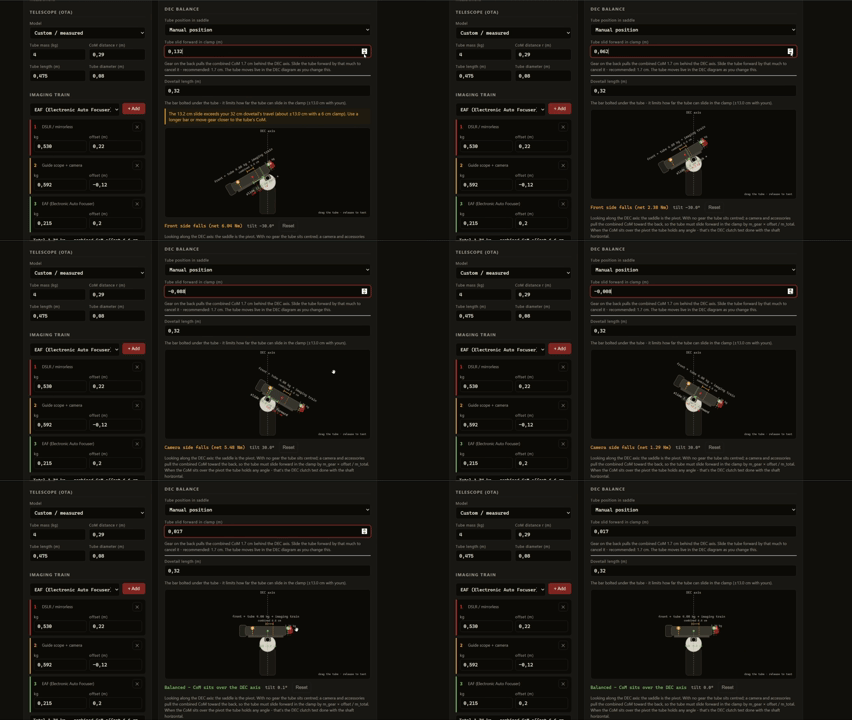
Saddle position solver: the tube placement works like the weights do - “solve for me” slides the tube the exact amount needed for DEC balance, or switch to manual and watch the tube move live in the diagram as you try positions yourself. A dovetail length input enforces the real travel limit: a 20 cm Vixen bar only allows about ±7 cm of slide before the clamp runs out of bar, and the app warns when the required slide needs a longer rail.
Inertia comparison: for the same balancing torque, more identical discs sit closer to the axis, so total I = Σmr² drops as roughly 1/n. The app shows the same balance point solved with 1, 2, 3, 4 weights and highlights the lowest-inertia setup that physically fits.
RA + DEC gravity simulation: two draggable diagrams with real physics. Balanced rigs stay wherever you put them (neutral equilibrium); imbalanced ones swing toward the heavy side with an angular acceleration of torque / inertia, until they hit the tilt stop. Tube length matters here too - a long refractor genuinely swings slower on DEC than a stubby SCT of the same mass.
Physics
The whole app runs on two textbook equations.
RA torque balance
About the RA axis with the shaft horizontal, sin(90°) = 1, so torque is just mass × g × distance:
T_OTA = (m_ota + m_gear) × g × r
T_weights = Σ (m_i × g × c_i)
For balance the two sums must be equal. When weights are set to “solve for me” the solver stacks them as adjacent discs of thickness t and picks the stack start s so the mass-weighted centroid of the stack lands on the balance point:
s = (T_OTA - fixed torques) / (g × Σ m_auto) - Σ (m_i × offset_i) / Σ m_auto
Each disc then sits at c_i = s + offset_i.
Inertia (why more weights close in beats one weight far out)
Moment of inertia about the RA axis is:
I = Σ m_i × c_i²
For the same balancing torque, n identical weights sit at r/n each, so I falls as 1/n (until disc thickness stops them getting any closer to the axis). Lower inertia means the mount accelerates and stops the rig with less effort, which is why splitting one heavy weight into two lighter ones near the axis is the physically better setup.
DEC balance
Gear on the back of the tube shifts the combined center of mass behind the DEC axis by:
shift = m_gear × offset / (m_ota + m_gear)
Sliding the tube forward in the saddle by exactly that amount cancels the shift and puts the combined CoM back over the pivot. Residual offset × total mass × g is the net torque left over. The available slide is capped by the dovetail: max slide = (bar length - clamp width) / 2, with a ~6 cm clamp assumed.
The DEC swing treats the tube as a rod of its real length L, so its inertia about the saddle is:
I = m_total × (L² / 12 + residual²)
Gravity swing
Both diagrams simulate rotation about their axis. Net torque at tilt angle θ is:
τ = M × g × cos(θ) - c × ω
where M is the net static moment (kg·m), ω is angular velocity, and c is a small damping term. Angular acceleration α = τ / I integrates over each frame, with tilt stops at ±34° (RA) and ±30° (DEC). Balanced rigs settle at whatever angle you released; imbalanced ones swing to the stop on the heavy side.
Sanity check
The whiteboard the app was built from (Astro Farsography, “Counterweight 2 Electric Boogaloo”) gives:
6.95 kg OTA at r = 0.290 m -> 19.772 Nm required
With one 5.35 kg weight the solver puts it at 0.377 m (video: 0.377 m). With two 5.35 kg weights the stack centre is at 0.188 m (video: 0.188 m). Inertia falls from 0.760 kg·m² to 0.378 kg·m² - same balance, half the inertia.